Trying to get server side rendering to work with PHP to render your Vue.js app but are stuck?
There’s a lot of great resources out there but I haven’t found anything that just works out of the box without some digging. Hopefully, after this post you’ll have a better idea of how to accomplish server side rendering for your Vue.js app!
Requirements
- PHP 7.2
- Node.js (My server has v8.9.4, I’m unsure if it will work on earlier versions, but if you have at least this version you should be good!)
Creating our Vue App
For this example, we’re going to use the starter Vue app that’s created for us using the vue command line tools. But, any Vue app will work. So, to start, navigate to a directory where you want to store your project and type:
vue create test-app
Use the default configuration.
Once it’s finished creating the project, we need to do a few things. First we need to install the vue-server-renderer library. To do that, navigate into your test-app folder and type the following:
npm install --save vue-server-renderer
Next we need to create a new entry point file so that the server can render our app. In the src folder, create a new file called entry.js. Inside, put the following bit of code:
import createApp from './main';
import renderToString from 'vue-server-renderer/basic'

const app = createApp();

if(typeof dispatch !== 'undefined')
{
   renderToString(app, (err, html) => {
       if(err)
       {
           throw new Error(err);
       }

       dispatch(html);
   });
}
Here we’re importing our actual Vue.js app with the line import createApp from ‘./main’;. Next, we’re importing the function renderToString from the vue-server-renderer library that will create the initial load of our app on the server.
Next we’re creating an instance of our app with the line const app = createApp();. Then we’re checking if there is a variable defined called dispatch.
dispatch is a function that passes us back the rendered html and is created through the server side rendering library we’re going to use. So it will only be available when the server attempts to render the app. It won’t be available once the client attempts to render the app. Therefore, by checking for this dispatch variable, we’re effectively checking if the app is being loaded from the server or the client.
With that file created and saved, we now need to slightly modify the main.js file that was auto-generated for us. Open it up and it should look something like this:
import Vue from 'vue'
import App from './App.vue'

Vue.config.productionTip = false

new Vue({
 render: h => h(App),
}).$mount('#app')
Instead of just creating the new Vue object, we need to have this file export a function that returns our Vue object. To do that, you need to change the code to look like this:
import Vue from 'vue'
import App from './App.vue'

Vue.config.productionTip = false

export default () => new Vue({
 render: h => h(App),
}).$mount('#app')
The only change was the addition of export default () => to the beginning of the new Vue object creation. What this does is allows us to import this main.js file and call it like a function. As you can see if you go back to the entry.js file we created earlier. We’re importing our main.js file and calling it createApp. Then we’re calling createApp like a function later on in the code.
The final change we need to make to our project is add a vue.config.js file. This should be just outside of the src folder, where the package.json file is. Inside you’ll need to put the following:
module.exports = {
   productionSourceMap: false,
   filenameHashing: false,
   chainWebpack: config => {
       config.optimization.splitChunks(false);
   },
   configureWebpack: {
       entry: './src/entry.js'
   }
}
This accomplishes two important things we need to work with the PHP library we’re going to use later on. It configures our app to generate a single javascript file instead of multiple chunks. This is done with the chainWebpack property and passing splitChunks false as well as setting productionSourceMap to false.
The next important thing this does is it sets the entry point to use our new entry.js file instead of the default main.js file.
The filenameHashing property is more for convenience so every time you build your app, the filename won’t change.
And with that we’re finished with the Vue portion of our app. Next we’ll work on the PHP side.
PHP Script
Navigate to the public folder of your Vue app (if you’re following along it will be inside the test-app folder) and using composer we’re going to install a PHP library called spatie/server-side-rendering. So type the following:
composer require spatie/server-side-rendering
Once it’s finished installing, create a new PHP file in the public folder called app.php. At the top of the file we’ll need to require the autoload file that composer generates and then include 2 classes we’re going to use to render our Vue app on the server. Then we’ll instantiate the classes and use them to render our app. Here’s the code for that:
<?php

require_once("vendor/autoload.php");

use Spatie\Ssr\Renderer;
use Spatie\Ssr\Engines\Node;

$engine = new Node("node", "/var/www/html/vue-ssr/temp");

$renderer = new Renderer($engine);

echo $renderer
   ->entry(__DIR__."/js/main.js")
   ->render()
;
The Renderer class is used to… render our app and the Node class is one of the rendering engines that the library comes with. Essentially what this library does is creates a temporary javascript file with our Vue app, calls it with node, grabs the html that’s generated and passes it back to us.
When we’re instantiating the Node class, you’ll see we passed 2 parameters to the constructor. The first one being “node” and the second “/var/www/html/vue-ssr/temp”. The first “node” parameter should be the path to your node.js executable file. It doesn’t need to be the full path if you’re able to access node from the command line by simply typing node.
The second parameter “/var/www/html/vue-ssr/temp”, is a path to a directory where temporary files can be created. It can be any folder you want, but it’s important that this folder be writable by the web server. If not, you will not be able to get this library working. Replace this parameter with your own temporary folder path.
After creating the $engine variable, we create the $renderer object and pass it the $engine. We’re then chaining 2 method calls from the $renderer object, entry and then render. In the entry method we pass the path to our compiled app. We haven’t built our app yet so this file doesn’t exist just yet, but if you follow along, it will soon.
Lastly, by calling render it generates the initial html for our app.
Building the Vue app
Now let’s build our Vue app for production! Inside the test-app folder, run the following command:
npm run build
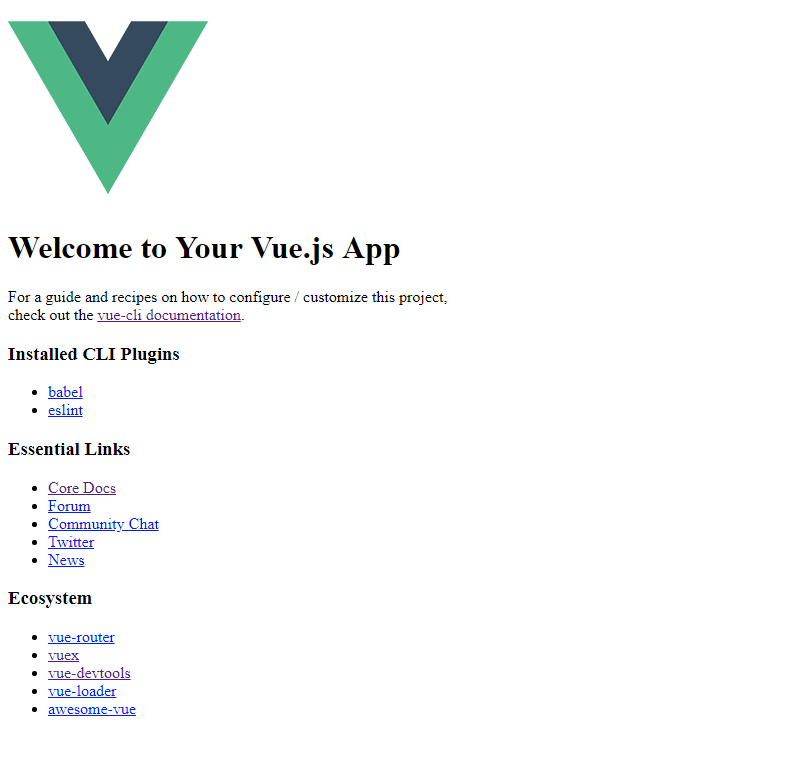
This will create a dist folder with our app.php file and vendor folder we created in the last step. You’ll want to either configure your server so the dist folder can be accessed from the web or upload/move the dist folder to somewhere that can be accessed from the web. If everything went correctly, if you access app.php from your browser you should see something like this:
If you got it, great! If you got an error, you can chain an additional method, debug, off of the $renderer object like this:
echo $renderer
   ->debug(true)
   ->entry(__DIR__."/js/main.js")
   ->render()
;
This will output any errors that occurred.
Next we can update our app.php file to load the actual Vue app as well so it gets re-rendered once the client loads it:
<?php

require_once("vendor/autoload.php");

use Spatie\Ssr\Renderer;
use Spatie\Ssr\Engines\Node;


$engine = new Node("node", "/var/www/html/vue-ssr/temp");

$renderer = new Renderer($engine);

$rendered = $renderer
   ->entry(__DIR__."/js/main.js")
   ->render()
;
?>
<html>
   <head>
       <link rel="stylesheet" type="text/css" href="/css/main.css">
   </head>
   <body>
       <?php echo $rendered; ?>
       <script type="text/javascript" src="/js/main.js"></script>
   </body>
</html>
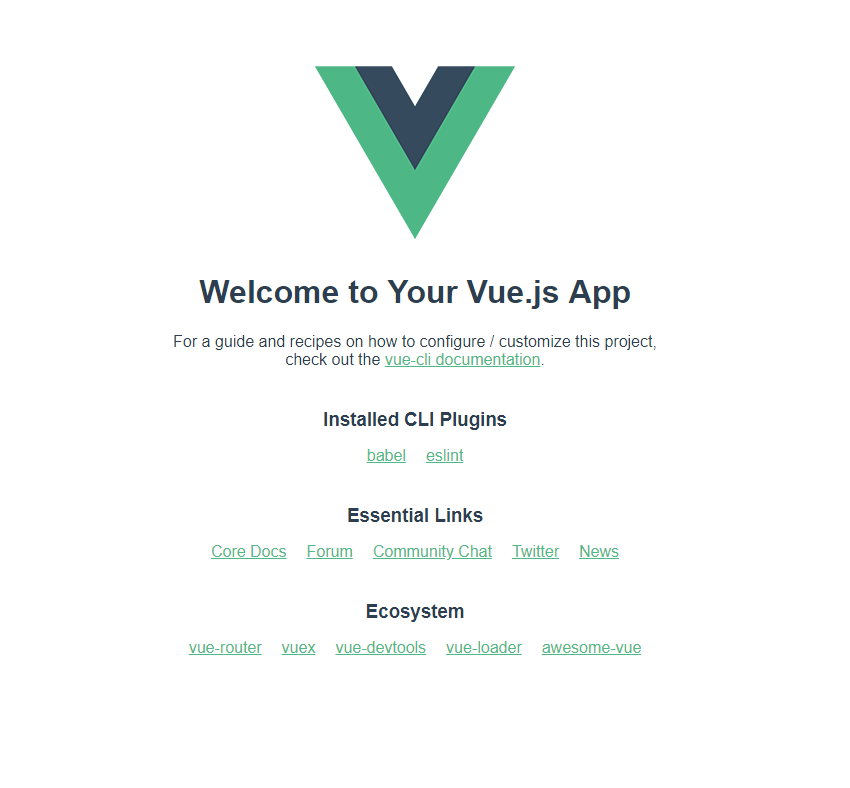
And when you refresh it will look more like the original Vue app:
Hydrating your App
Now, we’ve got our app rendered on the server, but one of the key features that we haven’t touched yet is hydrating or prefilling our state. There’s another method we can chain to the $renderer object called context. It takes either 2 parameters, a key and value or it takes a single array of key/value elements.
Here’s an example:
$context = [
   'message' => 'Test Prerendered Content!'
];


$rendered = $renderer
   ->context($context)
   ->entry(__DIR__."/js/main.js")
   ->render()
;
This will create a new javascript variable called context, which will be accessible during the server rendering process. So in our Vue app, we can check if this context variable is created and then use it to prefill our Vuex store or data properties.
For this tutorial I’ll show you how to fill data properties, but a similar method can be used to fill a store.
So, if you haven’t done so already, add the new context changes to your PHP script shown above. We’re also going to output the $context array as a javascript object in our HTML template and create our own javascript context variable so the client can also have a context variable to access.
Here’s what that looks like:
<?php

require_once("vendor/autoload.php");

use Spatie\Ssr\Renderer;
use Spatie\Ssr\Engines\Node;

$engine = new Node("node", "/var/www/html/vue-ssr/temp");

$renderer = new Renderer($engine);

$context = [
   'message' => 'Test Prerendered Content!'
];


$rendered = $renderer
   ->context($context)
   ->entry(__DIR__."/js/main.js")
   ->render()
;
?>
<html>
   <head>
       <link rel="stylesheet" type="text/css" href="/css/main.css">
   </head>
   <body>
       <?php echo $rendered; ?>
<script type="text/javascript">
           var context = <?php echo json_encode($context) ?>;
       </script>

       <script type="text/javascript" src="/js/main.js"></script>
   </body>
</html>
As you can see, I’m simply creating a variable called context in javascript and setting it equal to the json encoded version of our $context PHP array. That way, when the page loads, there will be a context variable that will be accessible to our app on the client side.
Next let’s go to our App.vue file and actually use the context variable to prefill our state.
We first need to create some state. So create a data method on your Vue app and return an object with a message property like so:
data() {
	return {
		message: "Welcome to Your Vue.js App"
	}
}
Then in the template, change the msg attribute on the HelloWorld component to use our message state property:
<HelloWorld :msg="message"/>
Now we’re ready to hydrate/prefill the initial state of our app.
We’ll need to do the prefilling in a lifecycle hook. The only two lifecycle hooks that are available to us with server side rendering are created and beforeCreate. I’m going to use the created hook. Inside, we’re going to check if the context variable exists and if it has a message property. Then we’re going to set our message state property equal to the context.message property like so:
created() {
	if(typeof context !== 'undefined' && typeof context.message !== 'undefined')
	{
		this.message = context.message;
	}
}
Your full App.vue file should now look like this:
<template>
 <div id="app">
   <img alt="Vue logo" src="./assets/logo.png">
   <HelloWorld :msg="message"/>
 </div>
</template>

<script>
import HelloWorld from './components/HelloWorld.vue'

export default {
 name: 'app',
 components: {
   HelloWorld
 },
 data() {
     return {
         message: "Welcome to Your Vue.js App"
     }
 },
 created() {
     if(typeof context !== 'undefined' && typeof context.message !== 'undefined')
     {
         this.message = context.message;
     }
 }
}
</script>

<style>
#app {
 font-family: 'Avenir', Helvetica, Arial, sans-serif;
 -webkit-font-smoothing: antialiased;
 -moz-osx-font-smoothing: grayscale;
 text-align: center;
 color: #2c3e50;
 margin-top: 60px;
}
</style>
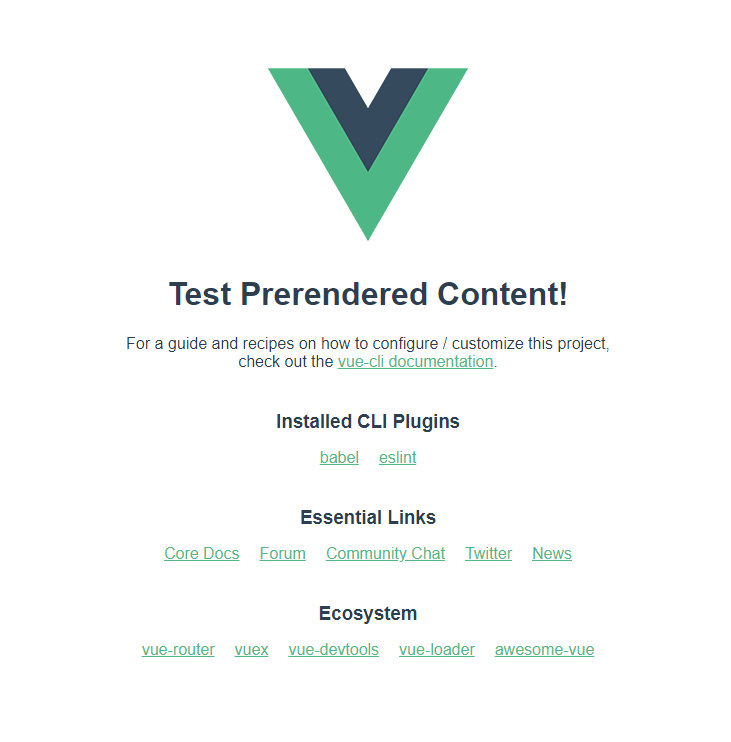
With that, save your App.vue file and then run the following command to rebuild your app:
npm run build
If you have to, make sure you re-upload the new files that were generated and then access your app.php file from the web again.
It should look something like this:
And that’s it!
Hopefully this tutorial was helpful to get you over the hump with server side rendering your Vue app. Click Here to view the repo with the full code. If you have any questions or feedback, let me know in the comments below!
Also, as I wrote at the beginning of this post, there’s a lot of great resources out there to help with server side rendering using PHP and I used a lot of them to write this tutorial. Here’s how I learned:
https://sebastiandedeyne.com/server-side-rendering-javascript-from-php
https://github.com/spatie/server-side-rendering
https://ssr.vuejs.org/guide/universal.html#component-lifecycle-hooks