Today we’ll start building a lightweight Question/Answer app in Symfony 4. Kind of like a simplified version of Stack Overflow. In this series we’ll cover Symfony 4 authentication, forms, Twig, Doctrine and much more! This tutorial is mainly meant for people who are either looking to switch to Symfony 4 from another framework or someone whose been learning PHP and is ready to take the next step to using a framework. I’m aiming to make this more a crash course than something extremely in depth, which should hopefully show you how to get up and running with Symfony without dragging on too much.
Prerequisites
- Solid understanding of PHP
- Access/Ability to create a MySQL database
- Have composer installed
- Understanding of HTML and CSS – I’ll be providing a lot of the HTML and CSS for you since I want to focus on Symfony, but you should know HTML at least if you’re looking to build a website with Symfony.
- Nice to have: Some experience with Bootstrap
Project Setup
To get started with our project the first thing we’ll need to do is install the Symfony skeleton, which is the starting codebase we’ll build off of.
So in a terminal, navigate to a folder where you want to place your project and type the following:
composer create-project symfony/skeleton question-answer
Then type:
cd question-answer
To move into your project’s directory.
Next, we need to install some Symfony components. For a little background, out of the box Symfony is very lightweight. There isn’t much to it, which is one of the reasons I like it so much. You aren’t given a million things you may never use. But, it does mean we need to add a few things to our project to get it started.
So, run the following command and then I’ll explain what each of the components are:
composer require annotations twig
The first component we’re installing is annotations. We’ll mainly be using annotations for configuring routes and validation rules. Essentially annotations allows you to configure parts of your app in comments. It might feel a little weird in the beginning, but you do get used to it as you work with Symfony more. When we get to using annotations in our project I’ll explain more!
Next is Twig. Twig is Symfony’s template engine. It’s really powerful and makes building user interfaces really easy once you get comfortable with it. All of our templates/views will be using Twig.
The final thing we need to install is a development component. It’s called the MakerBundle. It makes creating things like controllers really easy and quick.
composer require maker --dev
Ok, with those installed, we can start configuring our server and database.
Server Setup
We’ll be using Symfony’s built in web server bundle as our development server. Type the following command into your terminal:
composer require symfony/web-server-bundle --dev
Once it’s finished, to start the server you would type the following:
php bin/console server:run
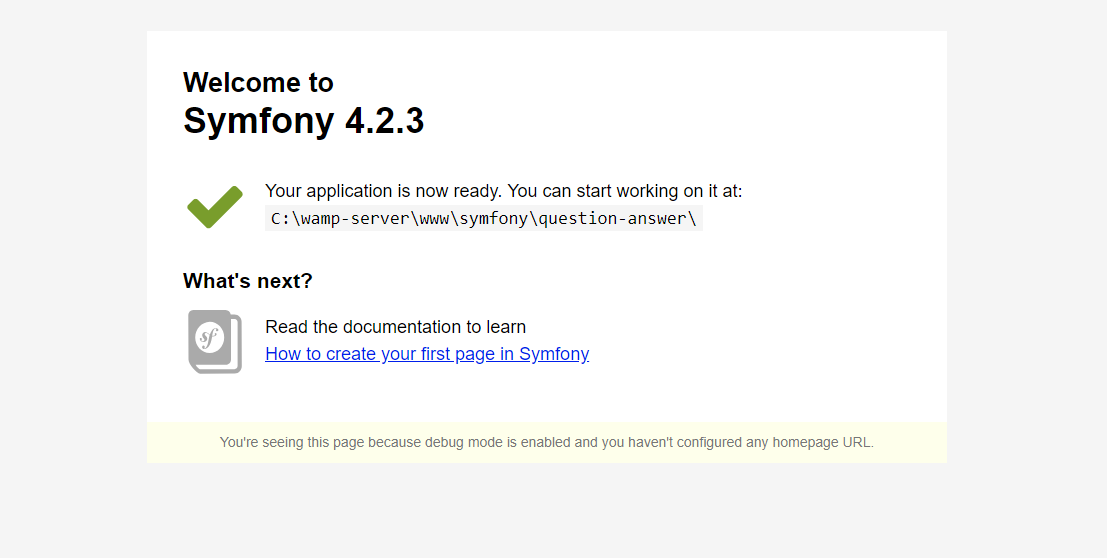
After you run that, it should show you your site’s url in the terminal. If you navigate to that url in your browser, you should see something like this:
Create your first Controller
To create a controller, we could go into the src/Controller folder and create a file. However, with the MakerBundle we installed earlier, we can skip a lot of the boilerplate type stuff. So to create a controller, in your terminal, type:
php bin/console make:controller
You should get a prompt asking what you want to name it. Let’s call this one MainController.
Now if you look in the src/Controller directory, you should see a file called MainController.php. Open it up. We have a file that looks like this:
<?php

namespace App\Controller;

use Symfony\Bundle\FrameworkBundle\Controller\AbstractController;
use Symfony\Component\Routing\Annotation\Route;

class MainController extends AbstractController
{
   /**
    * @Route("/main", name="main")
    */
   public function index()
   {
       return $this->render('main/index.html.twig', [
           'controller_name' => 'MainController',
       ]);
   }
}
Here Symfony has set us up with a starting point. If you notice, the comment above the index method has what looks like a route. That’s an annotation and that’s mainly how routes are setup in Symfony. There are other ways you can configure your routes, but annotations are the recommended way of doing it.
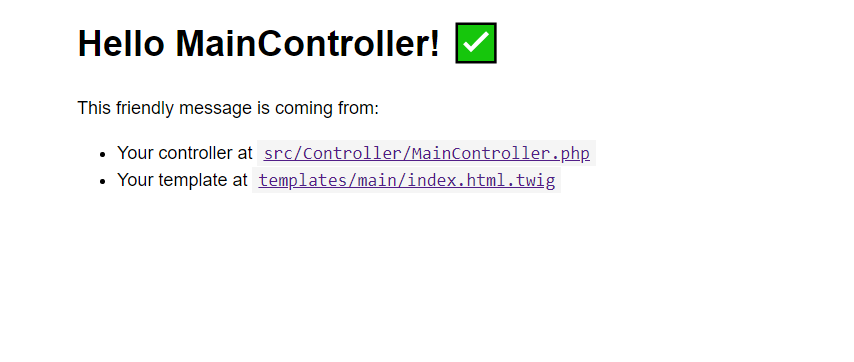
@Route takes a few parameters as you see in the boilerplate code. The first parameter is the route itself. So if you add a /main to your app’s url, you should see a starter page for the /main route:
Next we have the name of the route. The route name can be used to identify a route throughout our our app. We’ll use that more as we build out more of our site.
Then you should see that the index method is calling the render method and has a main/index.html.twig as the first parameter and then an array with the controller name as the second.
The render method, as you might have guessed, renders a view or template. When we used the make:controller command, it also created a template in the templates directory. So if you go to templates/main, you should see the index.html.twig file there. Open it up!
Now, you’re likely to be confused if you’ve never seen Twig before. But, it’s really fun to use once you get the hang of it. The first line you’ll see is:
{% extends 'base.html.twig' %}
Similar to how we can extend classes in PHP, with Twig, we can extend templates. So if you look, there’s a base.html.twig file in the templates directory. If you open that up, you’ll see this:
<!DOCTYPE html>
<html>
   <head>
       <meta charset="UTF-8">
       <title>{% block title %}Welcome!{% endblock %}</title>
       {% block stylesheets %}{% endblock %}
   </head>
   <body>
       {% block body %}{% endblock %}
       {% block javascripts %}{% endblock %}
   </body>
</html>
Notice the spots that say block/endblock. Those are spots that we can fill out when we extend this template. So, moving back to the index.html.twig file, you’ll see the {% block title %} block with Hello MainController in it, which ties back to the base.html.twig file where the title block is in between the <title> tags. And if you notice, in your browser when you’re on the /main route you’ll see Hello MainController as the title of the page. If we didn’t have a title block in our index file, it would fall back to the Welcome! that’s in our base template.
So, now that you have a little better understanding of what the blocks mean, I’m going to give you a starter template that we will build off of.
Copy and paste the following code into your base.html.twig file:
<!DOCTYPE html>
<html>
   <head>
       <meta charset="UTF-8">
       <title>{% block title %}Welcome!{% endblock %}</title>
       <link rel="stylesheet" href="https://stackpath.bootstrapcdn.com/bootstrap/4.3.1/css/bootstrap.min.css" integrity="sha384-ggOyR0iXCbMQv3Xipma34MD+dH/1fQ784/j6cY/iJTQUOhcWr7x9JvoRxT2MZw1T" crossorigin="anonymous">
       {% block stylesheets %}{% endblock %}
   </head>
   <body>
       <nav class="navbar navbar-expand-lg navbar-dark bg-primary">
           <div class="container">
               <a class="navbar-brand" href="/">Question/Answer</a>
           </div>
       </nav>

       <div class="container mt-4">
           {% block body %}{% endblock %}
       </div>

       {% block javascripts %}{% endblock %}

       <script src="https://code.jquery.com/jquery-3.3.1.slim.min.js" integrity="sha384-q8i/X+965DzO0rT7abK41JStQIAqVgRVzpbzo5smXKp4YfRvH+8abtTE1Pi6jizo" crossorigin="anonymous"></script>
       <script src="https://cdnjs.cloudflare.com/ajax/libs/popper.js/1.14.7/umd/popper.min.js" integrity="sha384-UO2eT0CpHqdSJQ6hJty5KVphtPhzWj9WO1clHTMGa3JDZwrnQq4sF86dIHNDz0W1" crossorigin="anonymous"></script>
       <script src="https://stackpath.bootstrapcdn.com/bootstrap/4.3.1/js/bootstrap.min.js" integrity="sha384-JjSmVgyd0p3pXB1rRibZUAYoIIy6OrQ6VrjIEaFf/nJGzIxFDsf4x0xIM+B07jRM" crossorigin="anonymous"></script>
   </body>
</html>
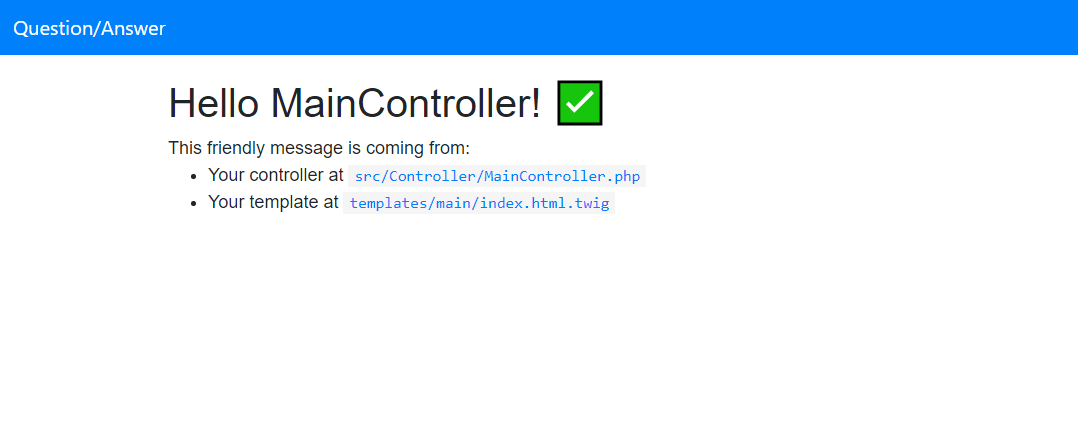
There isn’t anything too special in this. I’ve basically just set up a starter template that uses Bootstrap 4. It’s mainly a navbar and I’ve wrapped the main body block around a container div.
Once you save, your /main route will look like this:
Next let’s add the starting template for where a question will be placed. I’ve got that code for you as well. Replace the code in your index.html.twig file with this:
{% extends 'base.html.twig' %}

{% block title %}Question/Answer App{% endblock %}

{% block body %}
   <div class="row">
       <div class="col-10 offset-1">
           <div class="card mb-3">
               <div class="card-body bg-light">
                   <div class="row">
                       <div class="col">
                           <div class="row">
                               <div class="col-6 text-center">
                                   0
                                   <br>
                                   <small>answers</small>
                               </div>
                               <div class="col-6 text-center">
                                   0
                                   <br>
                                   <small>views</small>
                               </div>
                           </div>
                       </div>
                       <div class="col-10">
                           <h5 class="card-title"><a href="#">[Question Title Placeholder]</a></h5>
                           <p class="card-text text-muted small">asked by [User Placeholder] [Post Time Placeholder]</p>
                       </div>
                   </div>
               </div>
           </div>

       </div>
   </div>
{% endblock %}
And after saving your site should look like this:
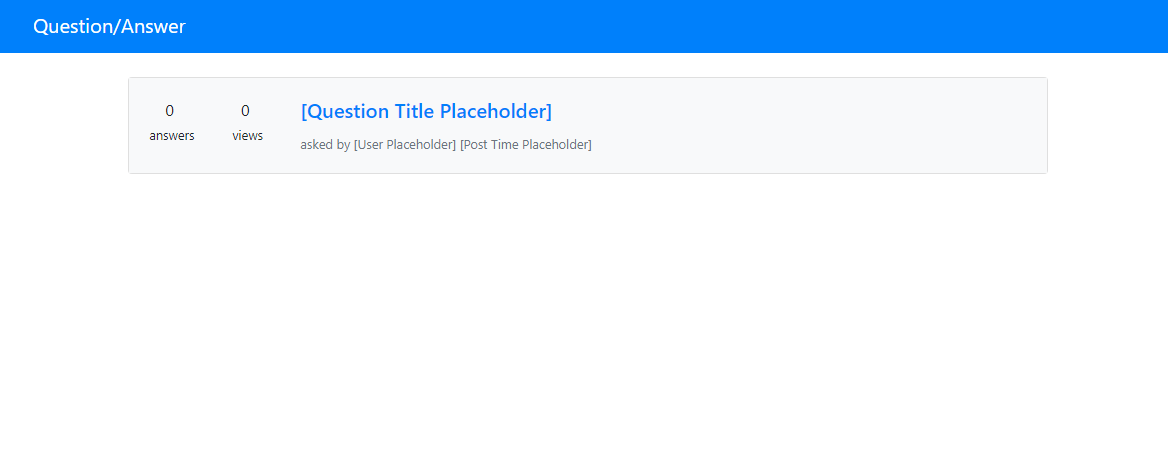
Great! Our site is looking a little better. Once we get more into the database stuff we’ll be replacing those placeholders with actual questions that users posted!
The last thing we’ll do is change the /main route to just / to make this our homepage. So, in your MainController.php file, update your route annotation so the route is just a slash. If you can, try doing that without looking at the code below!
Here’s what the annotation should look like:
/**
  * @Route("/", name="main")
  */
Now if you remove the /main from your site’s url, you should still see our main homepage controller.
Great! I think that’s a good stopping point for this post. We’ve got our project set up and the start of our main homepage controller. We’ll be diving deeper into Symfony next week when we start building out user authentication and registration! Hope you were able to take away some new concepts from this and hope you are enjoying Symfony so far.
If you have any questions feel free to leave a comment below!
Check out the next part here.